通过 PicGo 已有配置(PicGo Cloud、GitHub、S3、腾讯云 COS、七牛,或任意已安装的上传插件)把本地图片和文件上传到图床,提供 `picgo_upload` 工具与 `/picgo` 命令。
Upload local images and files to your image host through PicGo's existing configuration (PicGo Cloud, GitHub, S3, COS, Qiniu, or any installed uploader plugin), via a `picgo_upload` tool and a `/picgo` command.
安装
dsh plugin --profile web add @picgo/dsh-plugin从 npm 安装预构建包
安装与环境配置指引、插件开发教程见 DSH 中文社区文档 ↗
安装即在你的机器上以你的权限运行第三方代码——它可读写文件、使用凭据、访问网络,DSH 的工具审批不会为插件代码加沙箱。「检测到 manifest」仅代表发现 dsh.bundle / dsh.plugin 清单,不构成兼容性或安全审查;安装前请审阅源码,不熟悉的插件先在不含密钥的环境试用。
预览截图
README
Upload images and files to your image host from DeepSeek Harness, powered by PicGo.
Harness can show your agent a screenshot, but it has no way to turn a local file into a link. So when the agent writes a README, renders a chart, or captures a screenshot, the image stays on disk and  becomes a dead link the moment you push. This plugin closes that gap.
It uploads through whatever image host you already configured in PicGo — PicGo Cloud, GitHub, S3, Tencent COS, Qiniu, or any third-party uploader plugin you installed. Nothing to re-configure. If you've never used PicGo, it walks you into PicGo Cloud's free tier.
Install
dsh plugin --profile web add @picgo/dsh-plugin
Then boot as usual:
dsh --profile web
What you get
picgo_upload — a tool the model calls on its own when a local file needs to become a link. Returns structured results, so in Code Mode you can use it directly:
const { uploaded } = await tools.picgo_upload({ paths: ['/tmp/chart.png'] })
console.log(uploaded[0].imgUrl)
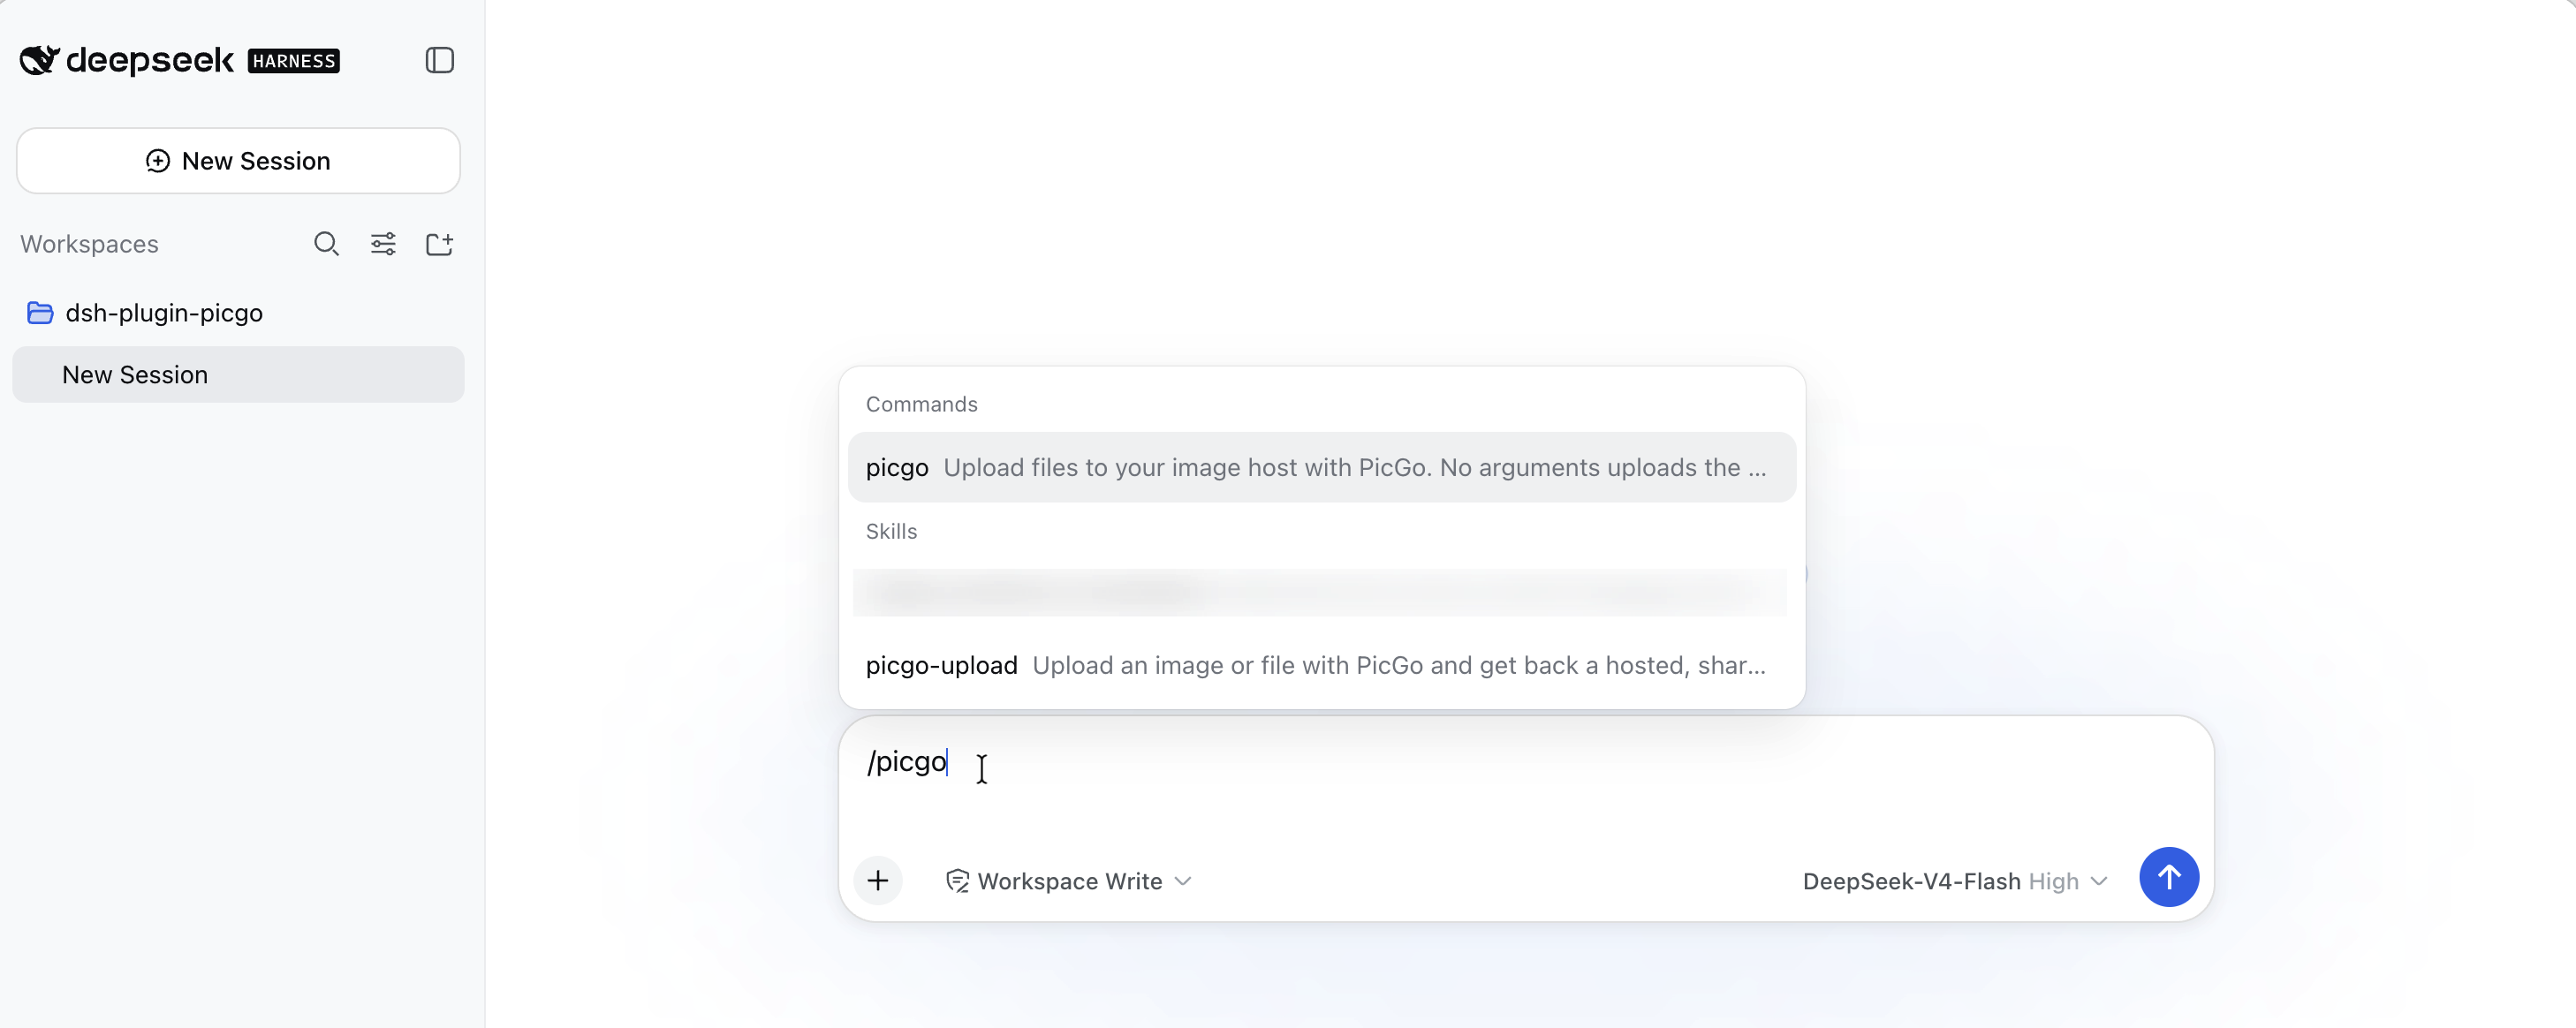
/picgo — a command that uploads without spending a model turn:
| Command | What it does |
|---|---|
/picgo |
Upload the clipboard image |
/picgo <path>... |
Upload one or more files |
/picgo status |
Show the active host and sign-in state |
/picgo login [token] |
Sign in to PicGo Cloud |
/picgo logout |
Sign out |
A bundled skill that teaches the model when to upload — inserting a screenshot into docs is the primary case — and when not to (you named a specific destination, you want a local copy).
First run
If you've never configured PicGo, uploads default to PicGo Cloud, which needs a one-time sign-in. The free tier covers casual use.
/picgo login
That opens your browser and reports back when it completes. If you already have a token from the PicGo Cloud dashboard, /picgo login <token> is instant.
The model will never run this for you: with no token the sign-in blocks waiting on a browser callback, which would hang the session. It relays the instruction and waits.
Already using GitHub, S3, or another host in PicGo? None of this applies — your existing config is used as-is and no sign-in is involved.
Configuration
Every field has a working default. Override them from your profile's cordis.patch.yml:
- id: picgo
  name: '@picgo/dsh-plugin'
  config:
    silent: true
    timeoutMs: 120000
| Field | Default | Meaning |
|---|---|---|
configPath |
'' |
PicGo config file; empty uses PicGo's own default (~/.picgo/config.json) |
silent |
true |
Suppress PicGo's console output and its picgo.log writes |
timeoutMs |
120000 |
How long to wait for one upload |
registerSkill |
true |
Register the bundled picgo-upload skill |
registerCommand |
true |
Register the /picgo command |
announceSignIn |
true |
On startup, point a signed-out PicGo Cloud user at /picgo login |
A patch replaces a row's entire config rather than merging keys, so restate every field you want to keep.
Notes
Uploaded links are public. Anyone with the URL can open it, and a deleted file may stay cached. Fine for screenshots and doc images; think before uploading a contract PDF or an internal archive. The bundled skill tells the model to confirm first for anything that looks sensitive.
Your PicGo config is treated as read-only, with one exception outside this plugin's control: when PicGo Cloud rejects a stored token, PicGo itself clears it from ~/.picgo/config.json. Signing in and out through /picgo login / /picgo logout also writes the token, as you'd expect.
Clipboard uploads need a desktop session and are only reachable through /picgo — the model is never given a way to upload your clipboard, since it can't know what's on it.
Development
pnpm install
pnpm build
pnpm test
To run it against a dsh source checkout without packaging, write a cordis.dev.yml (gitignored — the path is specific to your machine):
- insert:
    - id: picgo
      name: '/absolute/path/to/dsh-plugin/lib/index.js'
Then, from the dsh checkout:
pnpm dsh web --patch /absolute/path/to/dsh-plugin/cordis.dev.yml
The path must be absolute: a patch adds config but does not move the loader's resolution root.
Releasing
@picgo/bump-version bumps the version, writes the changelog, commits, and tags in one step:
pnpm release          # patch: 0.1.0 -> 0.1.1
pnpm release:minor    # 0.1.0 -> 0.2.0
pnpm release:major    # 0.1.0 -> 1.0.0
pnpm release:beta     # 0.1.0 -> 0.1.1-beta.0
pnpm release:dry      # print what would happen, change nothing
Then push the tag — that is what triggers publishing:
pnpm push-release
The release workflow runs typecheck, tests, and build before publishing, and refuses to publish if the tag does not match package.json. Prerelease tags pick their own dist-tag (-beta.x → beta, -alpha.x → alpha, anything else prerelease → next), so npm install @picgo/dsh-plugin never resolves to a prerelease.
npm authentication
npm cannot configure a trusted publisher for a package that does not exist yet, so the first release and every later one authenticate differently.
First release — needs an NPM_TOKEN repository secret (a granular token with publish rights to the @picgo scope):
gh secret set NPM_TOKEN --repo PicGo/dsh-plugin
After that first release lands, switch to trusted publishing so no long-lived token is involved. On npmjs.com, open the package → Settings → Trusted Publisher, and register:
| Field | Value |
|---|---|
| Publisher | GitHub Actions |
| Organization or user | PicGo |
| Repository | dsh-plugin |
| Workflow filename | release.yml (filename only, not a path) |
| Environment name | leave empty |
| Allowed actions | npm publish |
The workflow already sets id-token: write, so nothing changes on this side — npm picks OIDC over the token automatically. Once a trusted-publish release succeeds, delete the NPM_TOKEN secret and revoke the token, then set Settings → Publishing access to "Require two-factor authentication and disallow tokens".
Trusted publishing needs npm ≥ 11.5.1, so the release workflow runs on Node 24 (which ships npm 11.x). Node 22 ships npm 10.x and fails with a misleading 404. That choice affects only the machine doing the publishing — the package itself still supports Node ^22.19.0 || >=24.0.0, and CI tests against 22.
Compatibility
Tested against DeepSeek Harness 0.1.0-rc.5 (commit 47f9438, 2026-08-13) and PicGo Core 3.0.1. Requires Node ^22.19.0 || >=24.0.0.
Harness is a developer preview and its APIs change often. If a release breaks this plugin, please open an issue.
License
MIT
原始 README: https://github.com/PicGo/dsh-plugin/blob/main/README.md ↗
同类插件
查看全部 →
dsh-anchored-standard
两阶段 DeepSeek Harness 预设:先 Minimal 对齐的 bootstrap,再切完整 Standard 工具(Project2 98/99)

PicGo-Core
极致的图片上传引擎,CLI 与 API 双支持

awesome-deepseek-harness
DeepSeek Harness(DSH)及其优秀社区插件的精选指南。

awesome-deepseek-harness
DeepSeek Harness (DSH)生态系统:来自dsh-external/hub和公共dsh-plugin主题的精选插件、工具和基础设施。

AI-Novel-Writer
本地优先 AI 小说创作工作台,提供 Windows/macOS 桌面版与 DeepSeek Harness 插件开发预览,支持角色、大纲、章节蓝图、审稿修稿和本地模型。

mcp-for-stata
MCP-for-Stata:把 Stata 集成进你的 agent